

For many users, installing an application means just adding a new desktop shortcut or a new toolbar button. This article will describe the way to add menus and toolbars for user applications installed on nanoCAD Plus 8.5 or nanoCAD Pro 8.5, and analyze the procedure for creating a shortcut to launch a user application in the nanoCAD environment.
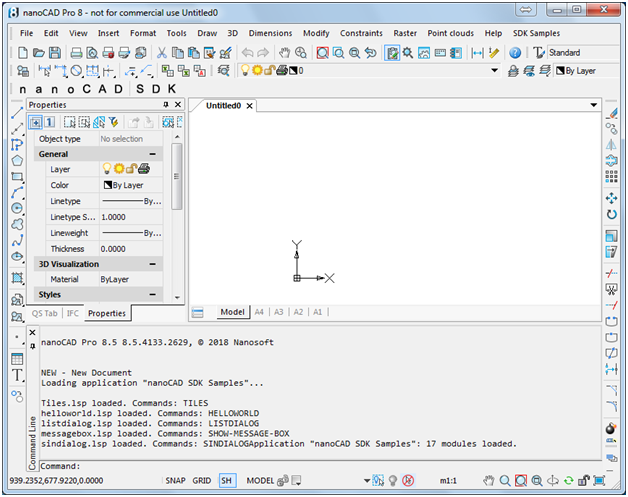
For those who are more interested in trying rather than in reading a description, I will immediately provide a link to the nanoCAD SDK Samples add-in. After installing this application, each start of nanoCAD Plus 8.5 will automatically load samples created in LISP, C++, С#, VB.NET, JScript, and VBScript, and the user interface will be added with a drop-down menu and a toolbar (as in the main screenshot), allowing you to run sample commands.
As a first step, let us present a ready-made application for installing samples supplied with nanoCAD Pro 8.5: NCadSDK Samples Application 8.0, and then we will consider how to include the file of menu description and toolbars there.
Samples Installer Overview
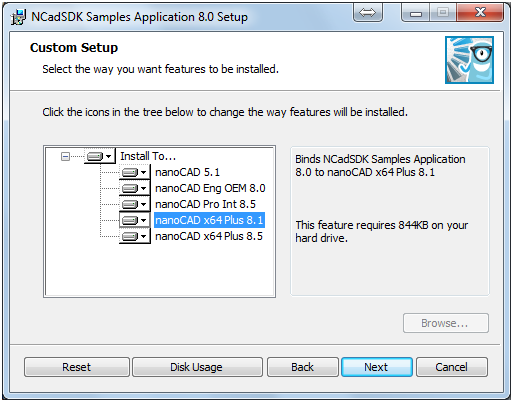
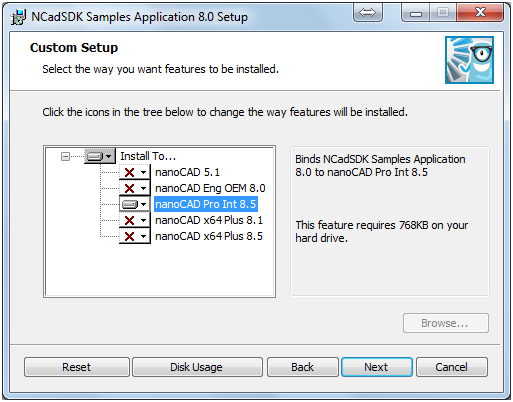
The samples installer for nanoCAD is a file in the Windows Installer format named SamplesAppEn<version>.msi. After startup, it builds a list of installed nanoCAD versions that are compatible with the installer, inviting your to select the versions where to install the application and those to be excluded from the installation:
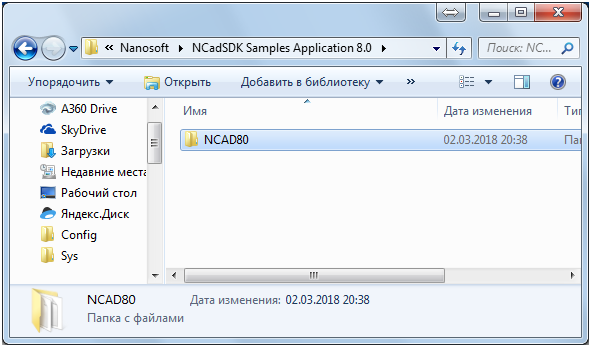
Installation folder: C:\Program Files (x86)\Nanosoft\NCadSDK Samples Application 8.0\NCAD80.
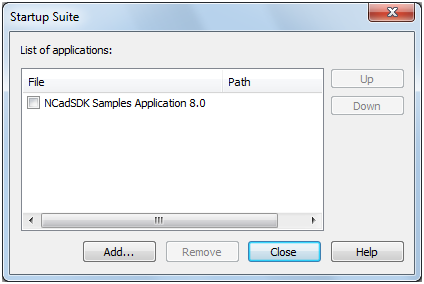
The installed application NCadSDK Samples Application 8.0 is already in the startup suite:

Check it if it is still unchecked and rerun nanoCAD.
When nanoCAD 8.5 starts, a message about the application being loaded is displayed in the command line:
You can run the loaded commands:
• from the command line
• from the drop-down menu installed with the application:
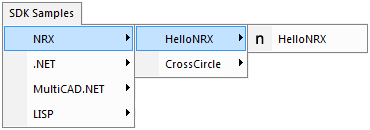
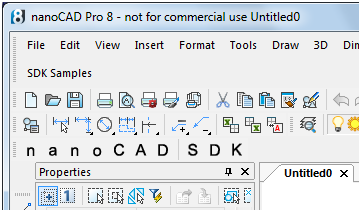
• or using the nanoCAD SDK toolbar where some SDK sample commands are added:
What is Installed Using the Installer?
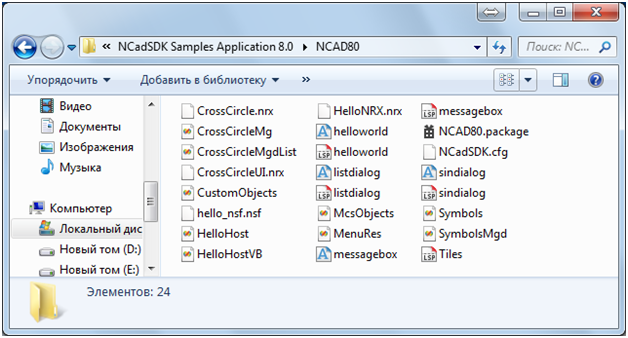
For each nanoCAD version selected during installation, the Installer creates a directory including sample files:
For 8.0–8.5 platforms, the full set of samples is installed (NCAD80 folder), whereas for the previous versions of the platform, it installs only scripts (JS, VBS) that do not require recompiling for each platform (the folders are named according to the version number: NC70, etc.). This is not a limitation of the application installation technology: if you compile SDK samples of all previous versions, you can create a unique installer to install the full set of samples on all platforms supported.
Application Description File (*.package)
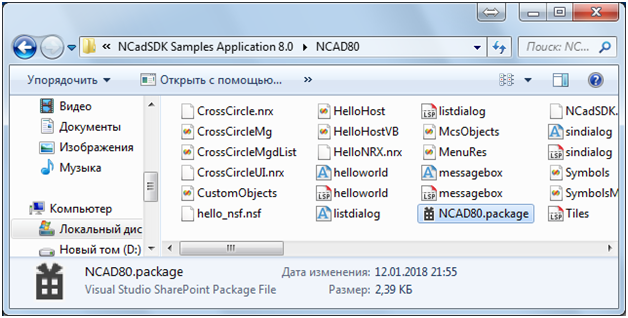
In addition to application file, the folder with installed samples includes the package file with .package extension, which contains all the necessary information about nanoCAD user configurations (including applications to load and user menus) and allows for loading the selected configuration immediately after launching nanoCAD.
Let us consider the package file to load add-in modules from the set of samples for nanoCAD. The file text has the following XML structure:
<?xml version=”1.0″ encoding=”utf-8″ ?>
<ApplicationPackage
xmlns=“hostApplicationPackage/v01″
Name=“nanoCAD SDK Samples”
>
<Components>
<ConfigEntry
FileName=“NCADSDK.cfg”
FileType=“CFG”
/>
<ComponentEntry
AppName=“HelloNRX minimal NRX sample”
ModuleName=“HelloNRX.nrx”
ModuleType=“NRX”
/>
<ComponentEntry
AppName=“CrossCircle Object Enabler”
ModuleName=“CrossCircle.nrx”
ModuleType=“NRX”
/>
<ComponentEntry
AppName=“CrossCircle Commands”
ModuleName=“CrossCircleUI.nrx”
ModuleType=“NRX”
/>
<ComponentEntry
AppName=“CrossCircle Managed Wrapper”
ModuleName=“CrossCircleMg.dll”
ModuleType=“NRX”
/>
<ComponentEntry
AppName=“CrossCircle Managed Commands”
ModuleName=“CrossCircleMgdList.dll”
ModuleType=“MGD”
/>
<ComponentEntry
AppName=“HelloHost .NET Sample”
ModuleName=“HelloHost.dll”
ModuleType=“MGD”
/>
<ComponentEntry
AppName=“HelloHost VB.NET Sample”
ModuleName=“HelloHostVB.dll”
ModuleType=“MGD”
/>
<ComponentEntry
AppName=“MultiCAD Objects”
ModuleName=“McsObjects.dll”
ModuleType=“MultiCAD”
/>
<ComponentEntry
AppName=“MultiCAD Symbols”
ModuleName=“Symbols.dll”
ModuleType=“MultiCAD”
/>
<ComponentEntry
AppName=“MultiCAD .NET Symbols”
ModuleName=“SymbolsMgd.dll”
ModuleType=“MGD”
/>
<ComponentEntry
AppName=“MultiCAD .NET CustomObjects”
ModuleName=“CustomObjects.dll”
ModuleType=“MGD”
/>
<ComponentEntry
AppName=“NSF Commands”
ModuleName=“hello_nsf.nsf”
ModuleType=“NSF”
/>
<ComponentEntry
AppName=“Tiles LISP Sample”
ModuleName=“Tiles.lsp”
ModuleType=“LISP”
/>
<ComponentEntry
AppName=“Hello World DCL Sample”
ModuleName=“helloworld.lsp”
ModuleType=“LISP”
/>
<ComponentEntry
AppName=“ListDialog DCL Sample”
ModuleName=“listdialog.lsp”
ModuleType=“LISP”
/>
<ComponentEntry
AppName=“MessageBox DCL Sample”
ModuleName=“messagebox.lsp”
ModuleType=“LISP”
/>
<ComponentEntry
AppName=“SinDialog DCL Sample”
ModuleName=“sindialog.lsp”
ModuleType=“LISP”
/>
</Components>
</ApplicationPackage>
The elements that are used for package description are:
• ApplicationPackage
• Components
• ConfigEntry
• ComponentEntry
The main element ApplicationPackage includes the Name attribute to define the application name that is displayed in the command line after startup.
The Components element describes the package components: the loaded application module – the ComponentEntry elements, as well as the application configuration file with a menu – ConfigEntry.
ComponentEntry includes the following attributes: AppName with the application name, ModuleName with the executable module name, ModuleType with the module type. The following module types are allowed:
• LISP
• MGD
• MultiCAD
• NRX
• NSF
Command Line Parameters, Creating a Shortcut
NCadSDK Samples Application 8.0 distribution kit adds the application in the startup suite, and it is loaded every time the platform is started. Let’s consider a case when there is no need to automatically load the application, but it should be loaded when launching nanoCAD using a special shortcut on the Windows desktop.
1. Disable add-in startup:
2. Create a shortcut for “C:\Program Files (x86)\Nanosoft\nanoCAD Pro en 8.5\nCad.exe” (we assume that we have installed nanoCAD Pro en 8.5 on the C disk, in the Program Files (x86) folder), name it nanoCAD Pro en 8.5 with SDK samples.lnk.
3. Add parameters to the command line:
a. -r — Name of the startup configuration (NCADSamples),
b. -p — Name of the profile (by default, it repeats the name of the startup configuration),
c. -g — path to the loaded application; it may be specified several times.
At the first startup, a profile will be created using the new shortcut, the name of which has been specified in the shortcut command line:
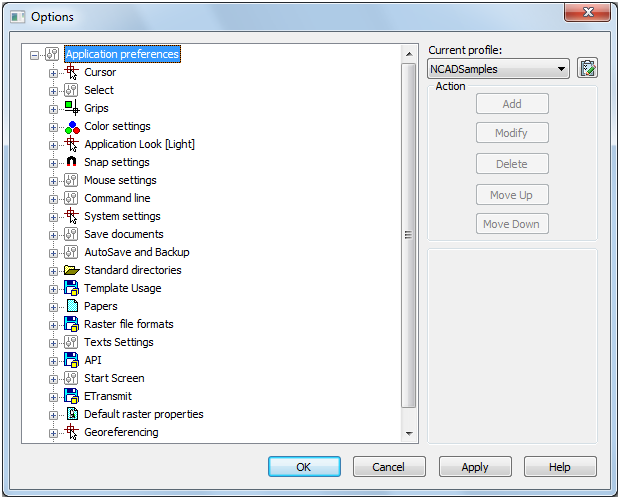
Do not confuse the notion of startup configuration and that of the profile:
• The startup configuration includes the information about the main and additional file of user interface (*.cfg) that have been loaded, as well as a link to the current profile. It is designed to create independent configurations (shortcuts) in which applications are run.
• The profile includes the software settings. Various startup configurations can both refer to different, independent profiles and use the same settings, referring to the same profile.
Conclusion
The source code of the nanoCAD sample installer is included in the SDK. If you want to build the installer yourself, you will need the WiX Toolset version 3.8. A sample .cfg file is also included in SDK.
Tags:
• API
• nanocad
• CAD
• lisp