
In this post we describe how to create a new project for NRX (nanoCAD runtime extension) applications. NRX is a classical C++ API, compatible with ObjectARX, that allows the user to extend nanoCAD functionality.
This post is part of nanoCAD SDK Documentation that can be downloaded from the nanoCAD Developers’ Club.
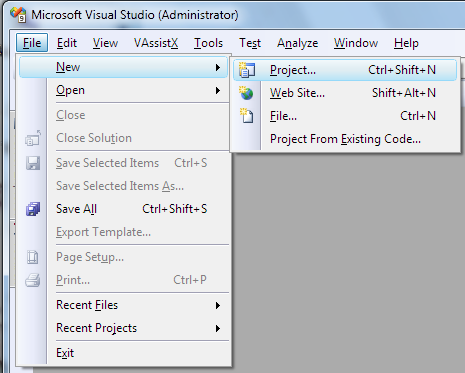
To create a new NRX project:
- Create a new C++ project in Microsoft Visual Studio 2008 (Win32 Project):
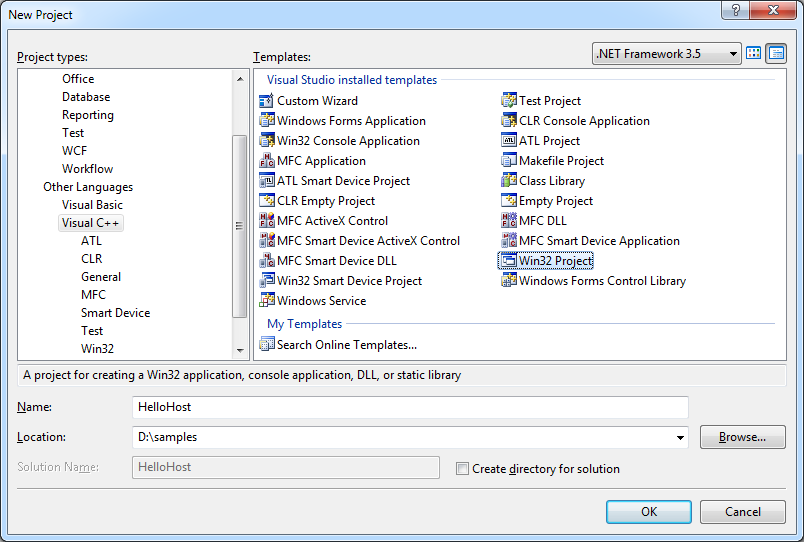
- Set the project name and its location:
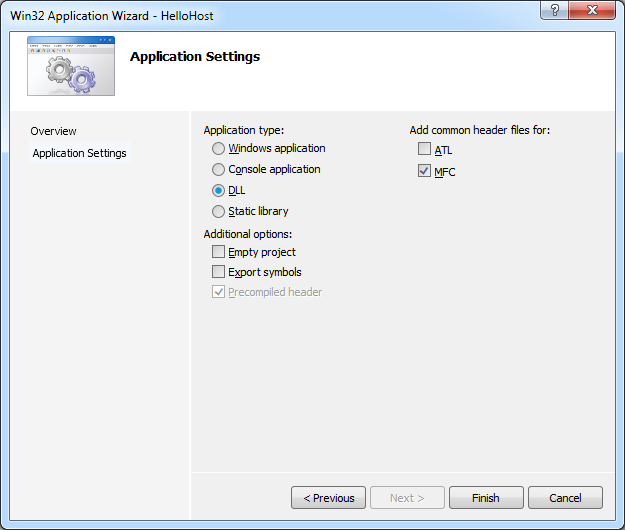
- Choose DLL as an application type and add common header files for MFC:
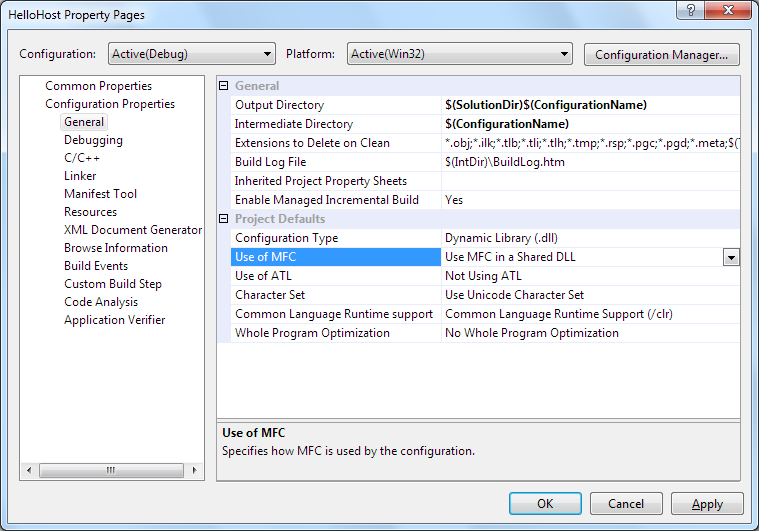
- In the General section of the project Configuration Properties set the property Character Set to the value Use Unicode Character Set and the property Use of MFC to the value Use MFC in a Shared DLL:
- Go to the C/C++ > General section and specify nanoCAD SDK header file directories in the following order:
[nanoCAD SDK path]\include

[nanoCAD SDK path]\include\TD

[nanoCAD SDK path]\include\MAPI

[nanoCAD SDK path]\include\nrxgate
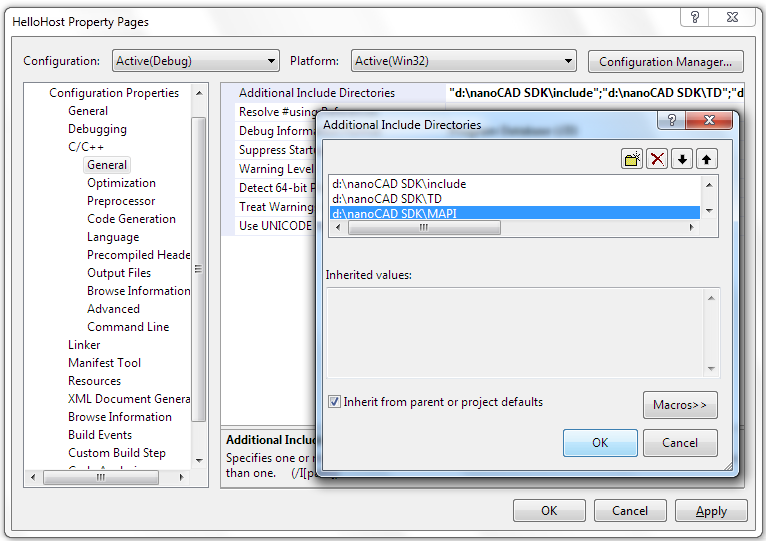 Note, the directories must be added in the right order to avoid compiling errors.
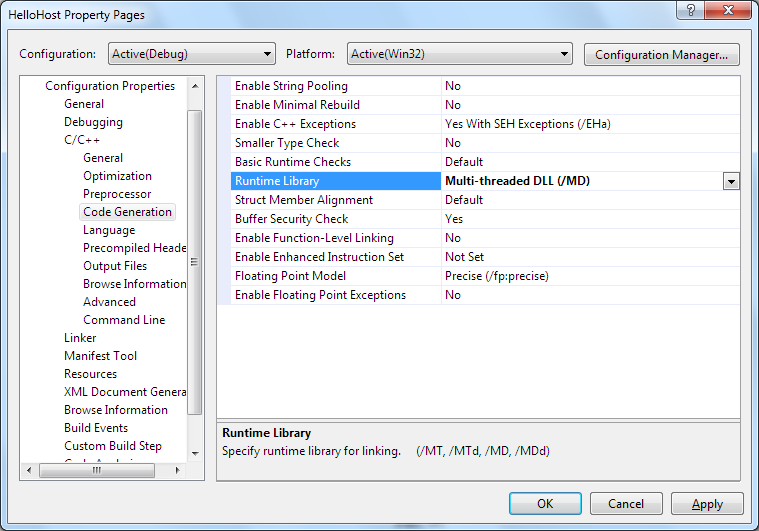
- In the C/C++ > Codegeneration section choose the Multi-threaded DLL option for the Runtime Library property.
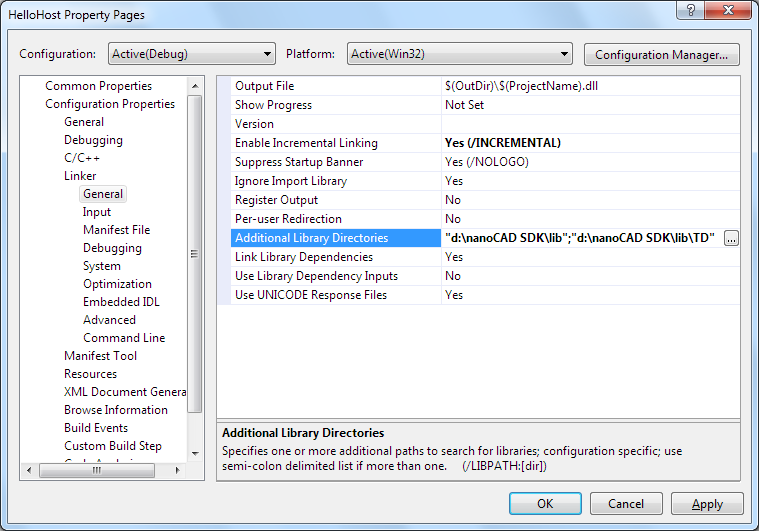
- In the Linker > General section add paths to the nanoCAD SDK libraries:
[nanoCAD SDK path]\lib

[nanoCAD SDK path]\lib\TD
- Add the following line to include the essential NRX header files:
123#include "ncheaders.h" - Add the following code to define an entry point:
12345678910111213141516// EntryPointextern "C" __declspec( dllexport ) NcRx::AppRetCodencrxEntryPoint(NcRx::AppMsgCode msg, void* pkt){switch (msg){case NcRx::kInitAppMsg:initApp();break;case NcRx::kUnloadAppMsg:uninitApp();}return NcRx::kRetOK;} - Implement the
initApp()function that register all commands for the application:
1234ncedRegCmds->addCommand("Group name", "Command global name","Command local name", "Flags", "Command method"); - Implement the
uninitApp()function that unloads application commands. In practice, a whole command group is unloaded, not only a separate command:
123ncedRegCmds->removeGroup("Group name");